
Introduction
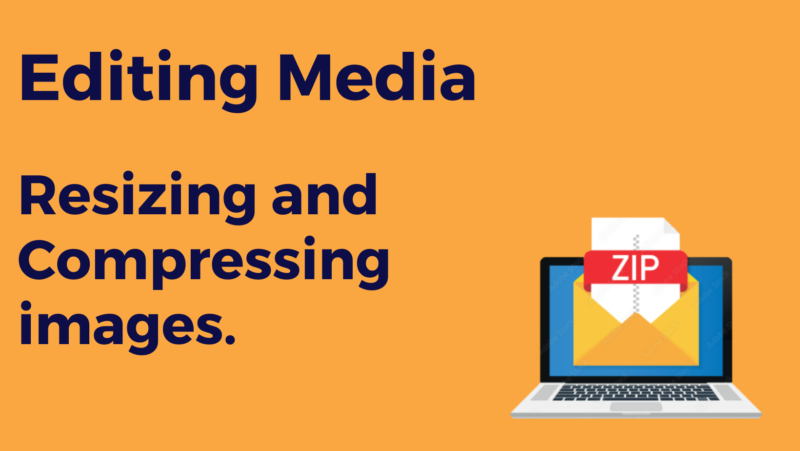
Editing Media on WordPress isn’t just about adding photos. Yes, it’s easy to upload photos into WordPress and add them straight to a gallery. But that shouldn’t be all you do. A few minutes extra work before and at upload stage can pay dividends.
Size
The larger your image, the more time your page will take to download. Slow sites mean user drop-outs and lower SEO page rankings.
Resize your image. You don’t need a 3000 x 4000 pixel image. 600 x 800 is probably good enough (Tip: have a look at the size of image you want to replace – and size it the same). Faststone image viewer is a great, free tool which allows you to resize and crop photos quickly: https://www.faststone.org/
You can also ‘batch convert’ multiple images at once (eg resize to 600×600) – there’s a good guide to this here https://www.imagingtips.com/faststone/batch/0100batch.shtml
Next compress your image using an image optimiser. This is a great website we use for this – you can achieve compression of up to 70%, without loss of quality: https://imagecompressor.com/ If you do find image quality is poor after compression, then recompress at a lower compression rate using the slider to adjust.
After doing all of this, you are now in a position to add a photo to the media library.
Adding to the Library
Click on Media from the left hand admin panel. You’ll then see the option to add new media (top left of main panel), select files (opens file explorer) or drag files from file explorer.

MetaData
When you upload a photo you’ll see some fields. We’ll go through each in turn and let you know what you should be putting into them.
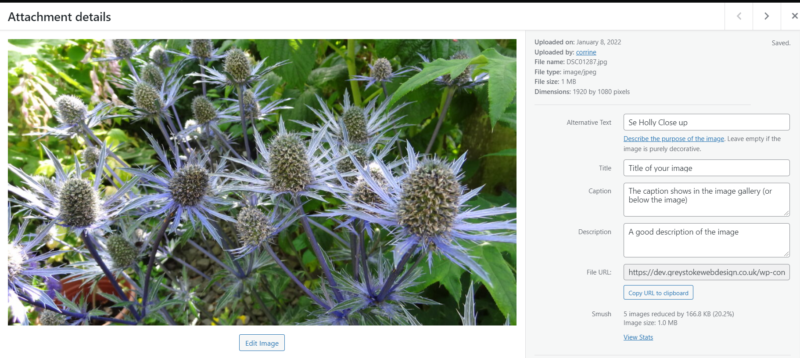
Alternative Text or Alt Text
This is really important as it is firstly used by search engines to help them understand the pictures on your site (so a relevant description with good keywords is great!) and secondly it is also what is read out on screen readers for visually impaired users. Finally, in the event there’s an issue with loading the image, the alternative text will display instead.
So make sure you have a snappy, relevant description of your image in the alt text field as it helps with both SEO and Accessibility. And guess what – a website with good accessibility ratings gets an SEO boost – so it’s a virtuous circle. Make sure all your images have them!
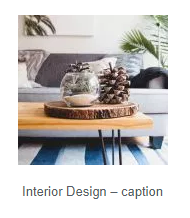
Title
This tag is similar to the alt text, and is often displayed in a pop-up when you hover over an image. Most importantly though it is used in the WordPress image gallery, so it’s a great idea to add a relevant title to all images. This also applies to image descriptions. Below you can see an example of an image with a title and description from within a WordPress gallery
Description
Here you can have a longer description of the image, providing more detail. This description will show up in any galleries, so is great for adding context, as seen above.
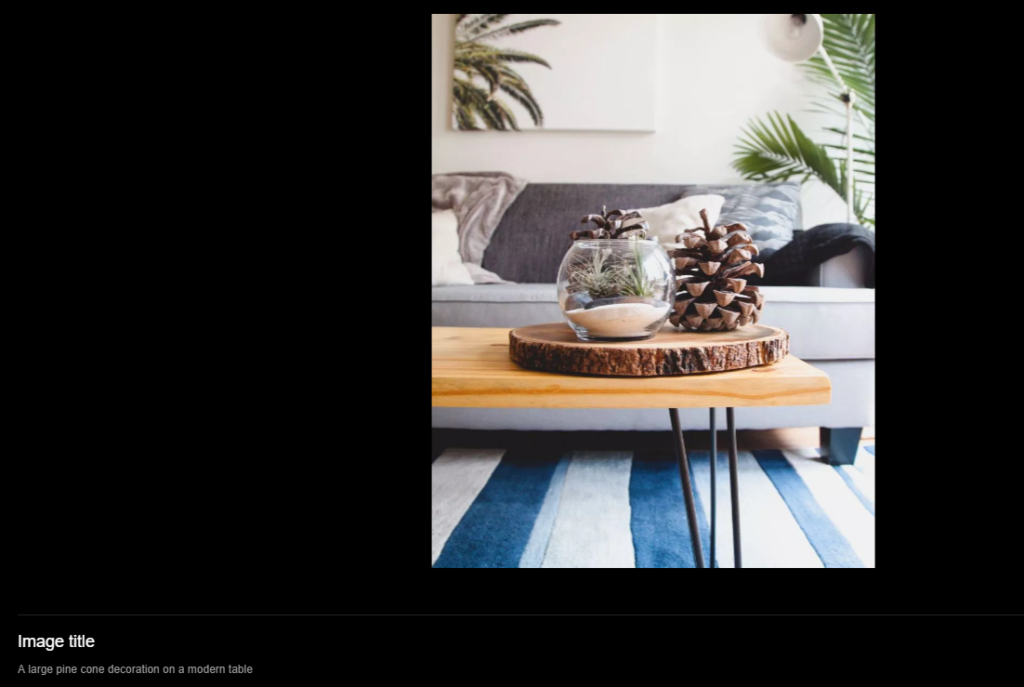
Caption
Finally the caption field. This shows up beneath images when you add them to pages or posts, as below. If you have galleries on your site, when you are clicking through the gallery the caption also shows beneath the images. So again it’s really important to make sure this is a good description.
You can always manually remove this on the page if you don’t want it, but again it provides great context.
Conclusion
All these fields add data and context to your images. Get into the good habit of making sure you add the data when you upload an image. You will see benefits in SEO and your website will be vastly more usable!
Be Even Better …
Take things to the next level by renaming your images on your PC before you upload them – instead of the name that comes out your camera (likely a strange date and timestamp) rename each image to something more meaningful instead.
See Also …
For more information on SEO: